|
Well, with
the machine almost ready I thought: Hey, I need another project, why not build a control panel for it.
Besides I didn't fancy the idea of fiddling with the
mouse and keyboard with metal chips flying all over the
place. In retrospect it seems I can't let go of the mouse even though
I have this panel, but that's another story.
 The
idea was to use a 15" LCD-screen and mount buttons
around the perimeter of the screen and then, by using
Mach3's screen designer software I could place labels on
the screen indicating what that particular button did at
that particular moment. (Known as Soft buttons or
Soft-keys). The
idea was to use a 15" LCD-screen and mount buttons
around the perimeter of the screen and then, by using
Mach3's screen designer software I could place labels on
the screen indicating what that particular button did at
that particular moment. (Known as Soft buttons or
Soft-keys).
I started by disassembling
the 15" monitor I had and took some measurements on it.
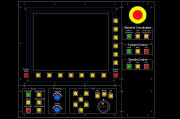
Next I sketched up the design in AutoCad. The
controlpanel
consists of a three separate panels mounted on a frame
of 20mm square aluminium tubing. A lot of thought went
into what functions I should have on the panel. I did,
for example, include buttons for coolant even though my
machine doesn't have it. (yet...)
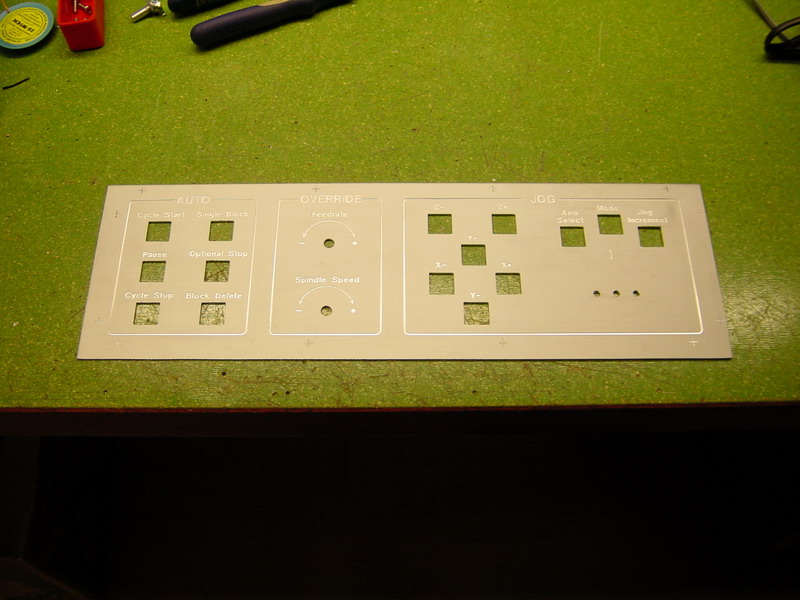
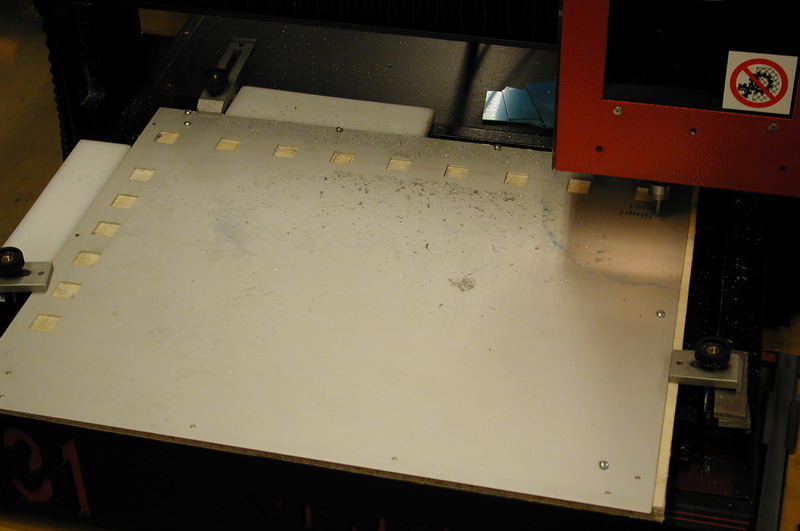
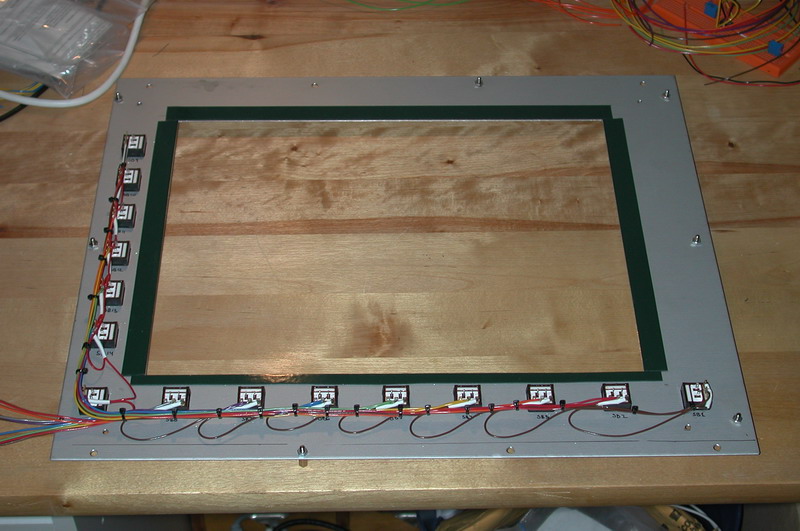
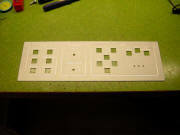
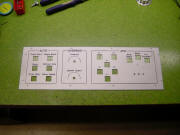
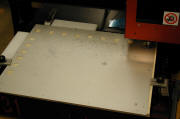
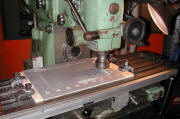
When the designwork was
done and the three panels where cut to size I used the
engraving machine we have at the place I work to cut the
holes for the buttons and engrave the legends. The
following three pictures shows the progress on one of the
three panels. First cutting and engraving, then a
cleaned up panel and last the finished panel ready to
install the buttons and rotary encoders.
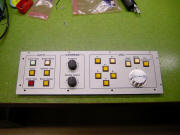 And
here's the finished panel with buttons, encoders and
knobs installed. The big knob to right was supposed to
used as an MPG but I later bought a real MPG and "retrofitted"
the panel with one. And
here's the finished panel with buttons, encoders and
knobs installed. The big knob to right was supposed to
used as an MPG but I later bought a real MPG and "retrofitted"
the panel with one.
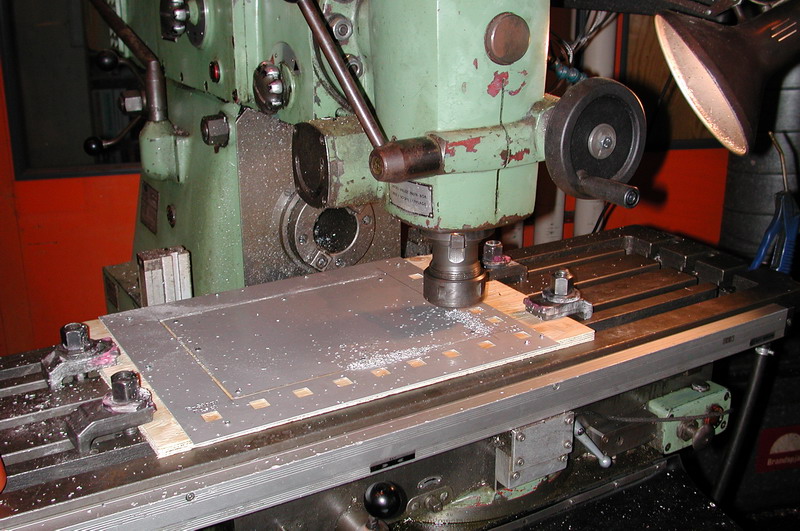
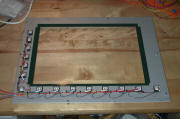
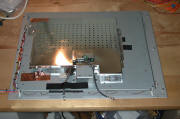
The next three pictures shows the panel for the
LCD-screen being engraved and then the opening for the
screen is cut out on a little bigger machine.
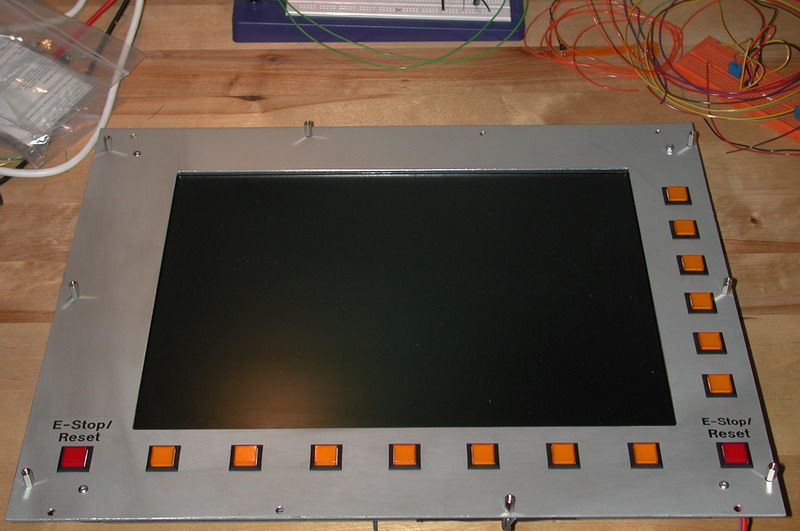
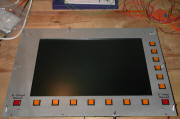
And here it is, first with the buttons installed and
then with the LCD-screen mounted and finally a view of
the finished panel.
The buttons are connected to a X-keys matrixboard which
in turn is connected to the PC thru the USB-port. The
X-key software lets you program each button to send one
or more key-strokes to the PC when the button is pushed.
This lets you tie whatever function you may like to the
different buttons. The buttons below the screen for
example sends the equivalent of pressing ALT+1 to ALT+7
on the keyboard. This makes them switch between the
different screens in Mach3. The buttons on the side
sends ALT+F1 to ALT+F6 and by putting buttons on the
screen along the side and setting it's hotkey property to corespond with the pushputton we have a softkey.
The key, pun intended, here is that ALT+F1 can be used for different
functions on different screens inside Mach3.
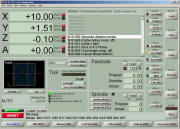 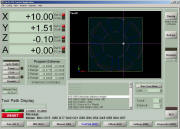
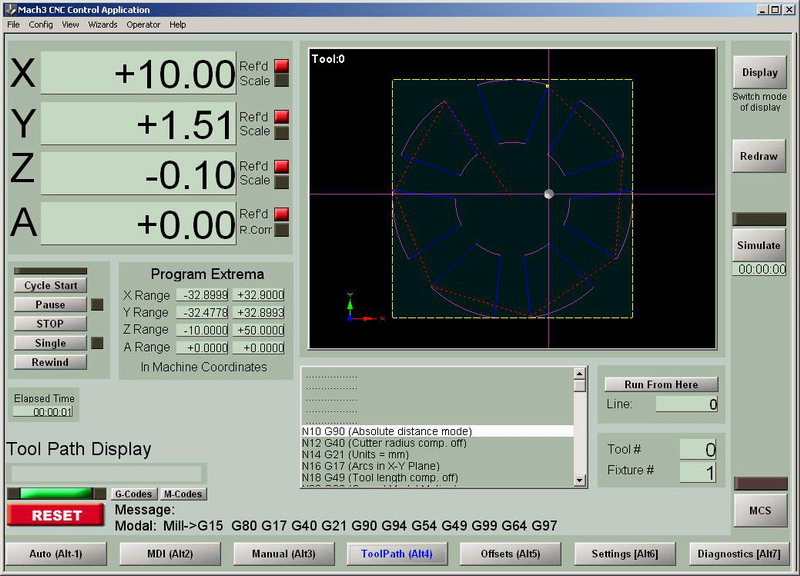
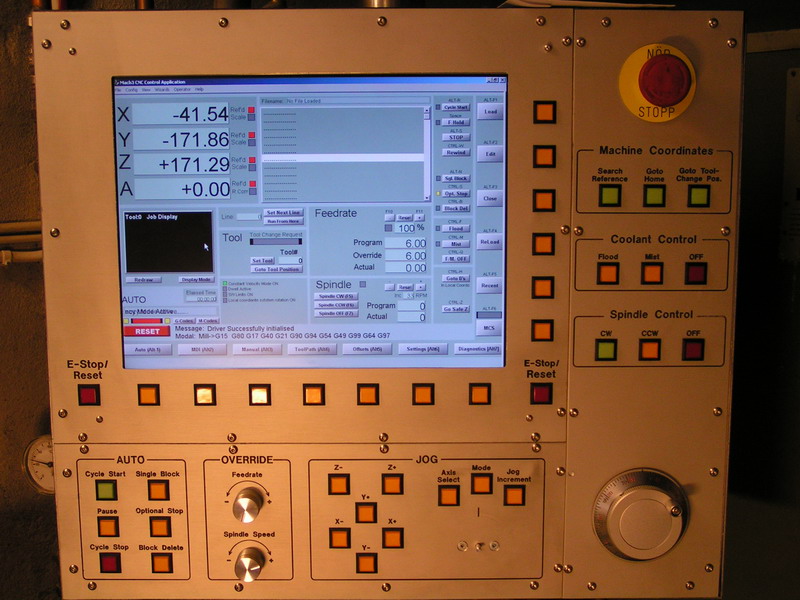
Here's two screenshots
from Mach3. The buttons below and on the side lines up
with the pushbuttons on the panel. Nice...
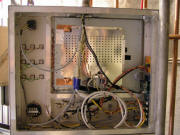
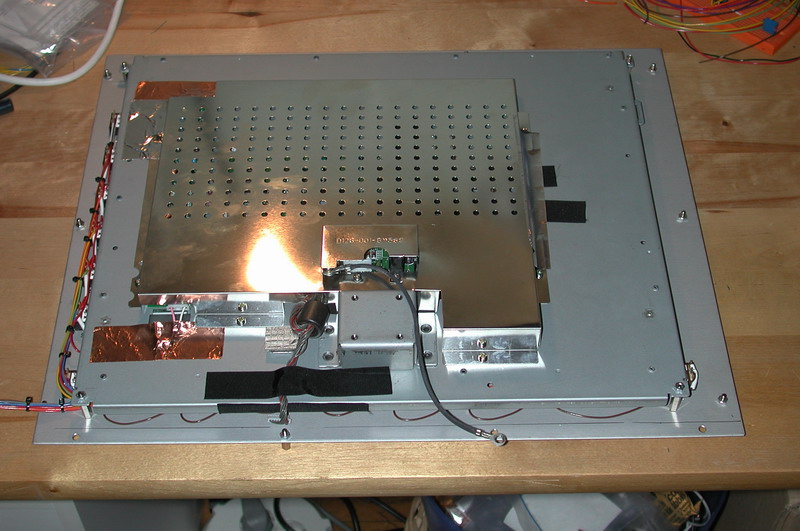
And here's a shot of the
internals of the finished control panel. Clearly visible
is the LCD-screen. In the upper left corner is the
E-stop switch and in the lower left is Nemicon MPG
encoder.
On the right side we have
the X-keys board and above that a little interface board
with a PIC microcontroller. This boards purpose is to
read the two rotary encoders (ALPS EC11B-20202)
used for feedrate override and spindle speed override
and convert the signals to 'key presses' that the X-keys
board then sends to PC.

The last photo shows the
completed panel up and running Mach3 with my custom
screenset. You can see that the original MPG now is replaced
with the NEMICON.
<BACK>
<NEXT>
|